Cake Stand Shooting Techniques at Different Heights: A Complete Guide to Layered Composition and Image Output

Cake Stand Shooting Techniques at Different Heights: A Complete Guide to Layered Composition and Image Output
In dessert photography and product displays, many people focus on the cake itself, neglecting a crucial visual tool—the cake stand. In reality, stands of different heights directly impact the composition, lighting, and spatial depth of the image.
Whether a photo is good or bad often depends not on the dessert itself, but on the height and structural elements of the display.
This article will systematically explain how to photograph cake stands at different heights, from which angles to shoot, and how to compose shots to create more depth, as well as common shooting mistakes and practical correction techniques. Even if you’re using a mobile phone, as long as you use the correct height logic, your success rate will significantly improve.
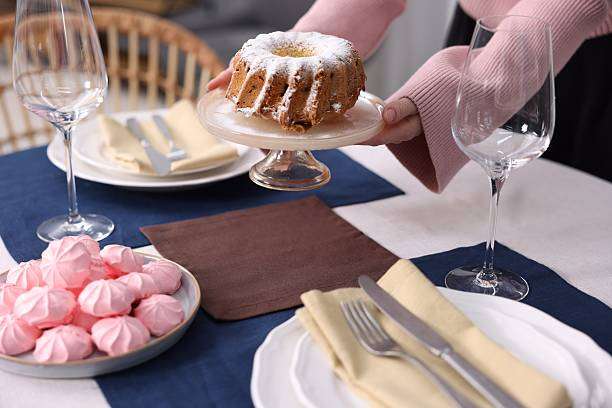
Why does height directly affect the depth of an image?
In photographic composition, three-dimensionality comes from three dimensions:
- Eye guidance path
- Foreground, middle ground, and background distribution
- Prominence of the main subject
The cake stand acts as a natural “height adjustment tool” here. When different support heights are varied, the image automatically creates a sense of depth; if all displays are at the same height, the photo becomes very flat.
A very practical criterion for judgment:
- No height difference → Like a product catalog
- Height difference → Like a magazine spread.
When I was shooting desserts in the early days, I often arranged all the trays on the same horizontal line. Later, when I reviewed the footage, I realized that the images were so flat that they were unmemorable.
Shooting angle selection for different height Cake Stands
Different heights require different camera positions; otherwise, the height advantage will be “lost” in the shot.
How to photograph a low-profile display stand
Low-position cake stands are often used for support:
- Biscuit
- Macarons
- Small Tower
- Mini cupcakes
Recommended angle: 45° side angle.
Advantages:
- Preserve the three-dimensional effect
- Clear details
- It will not compress the height
Operating Tips:
- The lens is slightly lower than the top edge.
- Focus on the front row of desserts
- Background slightly blurred
If you take a picture directly from above the low-lying support platform, it’s easy to flatten the dessert, making it look like a “compressed biscuit.”
Medium-height shooting method
Medium-height cake stands typically serve as visual transitions, acting as a “connecting layer” in composition.
Recommended angle: eye level
Advantages:
- Natural proportions
- Perspective stability
- Clear hierarchy
When I personally photograph ensemble desserts, I almost always use a level angle for the middle layer, as this is the most stable method and has the lowest probability of failure.
How to photograph a high-position display rack
A high-mounted cake stand typically holds the main cake or a themed dessert and serves as the visual centerpiece.
Recommended angle: Slightly lower camera position
Effect:
- The main body is more imposing
- The height was enhanced
- Visual focus
Pay attention to control:
- Avoid shooting from an excessively low angle.
- Avoid the base taking up too much space in the image.
- Keep the background clean.
Once, I shot from an excessively low angle, making the base the main subject of the image while the cake became a supporting character—a classic example of what not to do.
Composition methods with multiple height combinations
When multiple cake stands appear in a scene, the height difference itself becomes a compositional element.
Triangular composition method
Arrange the pieces at different heights into a triangular structure:
- A high point
- A transition
- A low balance
During filming:
- Raise the main body
- Lower the price of side desserts
- Middle layer for connection
This is one of the most commonly used structures in commercial dessert photography; it’s very stable.
Diagonal composition method
Arrange the cake stands from lowest to highest height, from left to right.
Shooting Techniques:
- Framing along the diagonal
- Let your gaze naturally rise.
- The scene is dynamic
It is especially suitable for displaying a whole dessert table.
Front-middle-back stacking method
Distribute different heights at:
- Foreground
- Mid-range
- Background
Combined with a large aperture:
- The foreground is light and uncertain
- Clear main body
- Background Softening
The layers will be very obvious.
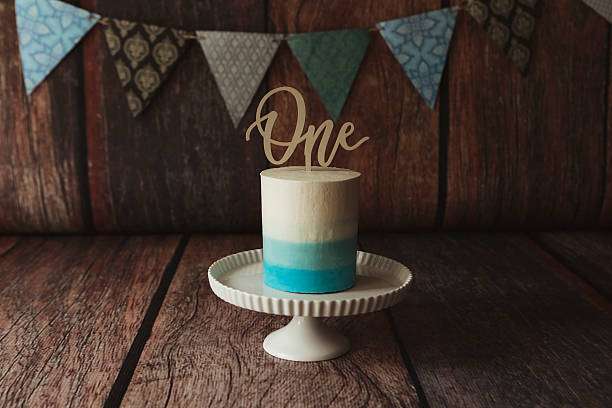
Different styles of high strategy
e-commerce style
Features:
- Information is clear
- Clear structure
High-level strategy:
- Layered but not exaggerated
- The height difference should be controlled within 20–30%.
Suitable for shooting standard product display cake stands.
Magazine style
Features:
- Strong atmosphere
- High impact
Placement method:
- Significant difference in elevation
- Can be covered
- Staggered
This style allows for bolder, more dramatic contrasts.
Lifestyle
Features:
- Natural
- Not intentional
Arrangement method:
- Incomplete symmetry
- Rhythmic fluctuations
- Add props
When I shoot afternoon tea-themed photos now, I deliberately make the height of the cake stand “wavy” to make the picture more lifelike.
The technique of combining light and height
Height directly affects the distribution of light-receiving surfaces.
High-level Cake Stand:
- It’s easier to get the main light
- Suitable for placing visual focus
Low-level support platform:
- Easy to enter the shadow
- Reflector needed for supplemental lighting
I once forgot to fix the low-angle reflection during a shoot, and the underlying sweet spot turned completely black, which was almost impossible to salvage in post-production. This was a very painful lesson.
Background selection and height relationship
The higher the altitude, the more stringent the background requirements.
Suggestion:
- High position → Solid color background
- Multi-layer combination → Gradient background
- Low bit → Available texture background
Cake stands made of transparent materials are especially prone to revealing the background, so be particularly careful.
Summary of common errors
- All heights are the same → Like arranging seats in a meeting
- Placing the higher seats on the side → Visual imbalance
- Shooting from above → Loss of height advantage
- Excessive height difference → Fragmented composition
- Only displaying desserts without first testing the height → Chaotic composition
Practical shooting process (highly recommended)
This is the process I now consistently use:
- First, set the height of the cake stand.
- Test shooting without dessert first
- Find the main visual position
- Then arrange the main dessert.
- Add foreground elements
- Fine-tuning the angle
I later developed a habit: first, I would lay out the framework structure to test the design, and then I would put on the dessert. This improved my efficiency by at least double.
Mobile phone shooting height techniques
When shooting with a mobile phone, the height relationship is more important.
Operation suggestions:
- Turn on portrait mode
- Low camera position close to the foreground
- Click to focus on the high-position subject.
- Use the foreground to blur.
The effect will be much better than just standing and taking a casual photo.
FAQ
- Q1: Is it true that the more brackets, the better?
No. Generally, 3-5 height levels are the clearest; more than that will make it look messy. - Q2: Is a multi-layered structure suitable for shooting from above?
Yes, but there must be a significant height difference; otherwise, the layers will be flattened. - Q3: What is the best angle for a single cake stand?
A 45-degree angled side is the most stable. - Q4: What height difference is most likely to produce good photos?
20-40% is the most natural. - Q5: Is there a big difference between shooting with glass and wood?
Yes, there is. Glass is more dependent on light control, while wood emphasizes the texture.
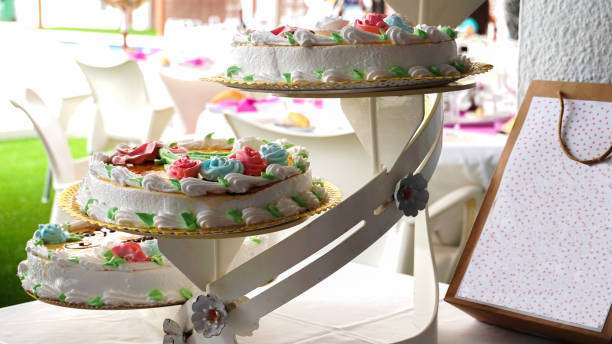
Conclusion
Many people believe that the core of dessert photography is the cake itself, but what truly determines the professionalism of the image is often the arrangement of the cake stand‘s height and the choice of camera position. As long as the height and rhythm are designed reasonably, even ordinary equipment can produce images with depth and texture.
I went from “just setting up the bracket and shooting” to “designing the height structure before shooting,” and my success rate at least doubled. This change is very obvious.
Next time you’re shooting desserts, prepare cake stands of different heights to create a layered structure before placing the desserts on top.
A well-balanced combination of heights will improve your photos more than upgrading your camera. Try it now, and you’ll see the difference immediately.