
For dessert lovers, a cake stand is not just a tool for displaying food but also an eye-catching focal point on the table. A well-arranged cake stand not only makes each dessert look more tempting but also helps guests quickly find their favorites.
However, many people encounter a problem when using a cake stand: how to rationally divide and arrange the various desserts to make the overall presentation both beautiful and easy to access.
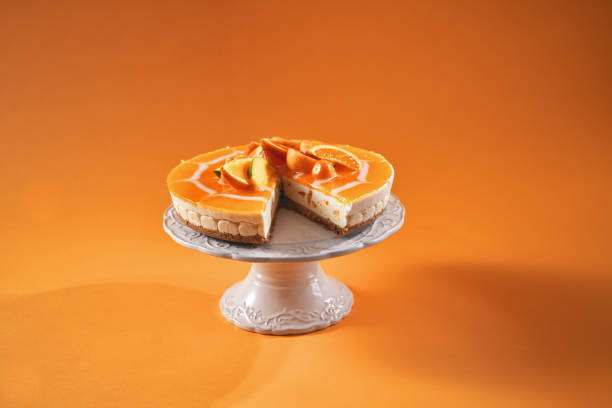
The Importance of Dessert Sections
There are several advantages to properly categorizing desserts in a cake stand:
- Visual appeal: A partitioned layout can create a sense of hierarchy, making the cake stand look richer and neater.
- Easy to access: Guests can easily choose their favorite desserts, avoiding chaos.
- Controlling dessert portions: Arranging different types of desserts in separate sections allows for better control over the quantity of each type.
- To prevent flavors from mixing: Chocolate, cheese, fruit-flavored, and other desserts should be placed in separate areas to avoid affecting each other’s flavors.
I tried this when hosting small parties: separating the chocolate and fruit desserts on the upper and lower tiers of the cake stand. As a result, guests could easily access them, and the entire dessert area looked cleaner and tidier.
Zoning principle
1. Divide by dessert type
Organizing by dessert type is the most common method:
- Cakes: Brownies, Cheesecakes, Mini Cream Cakes
- Cookies: cookies, macarons
- Fruits: Mini fruit tarts, jellies
- Chocolate products: chocolate bars, chocolate mousse
Organizing desserts by type is not only aesthetically pleasing but also allows different flavors of desserts to showcase their unique characteristics.
2. Organize by color or theme
Visual appeal is also important. I once hosted a birthday party at home, using a cake stand in three tiers:
- Bottom layer: Warm-colored desserts (butter cookies, lemon cake)
- Middle layer: Neutral-colored dessert (chocolate brownie)
- Top layer: Cool-toned desserts (blueberry tart, matcha cake)
When arranged this way, the cake stand looks like a gradient color scheme, which is very eye-catching.
3. Divide into sections by size
It usually has multiple layers, each with a limited area. It can be divided according to dessert size:
- Large desserts are placed at the bottom, such as whole cakes or pies.
- Medium-sized desserts in the middle rack: small cakes, mousse cups
- Small desserts on top: macarons, cookies
I found that this partitioning method improves the overall stability of the cake stand and also prevents the smaller desserts on top from being obscured by the larger ones.
4. Consider guests’ usage habits
When dividing the food into sections, it’s best to place the most popular desserts in easily accessible locations. For example:
- Place fragile mousse cups at the bottom.
- Small cakes on the middle layer
- Top with decorative desserts or macarons
This layout is both convenient for guests and ensures the cake stand looks beautiful.
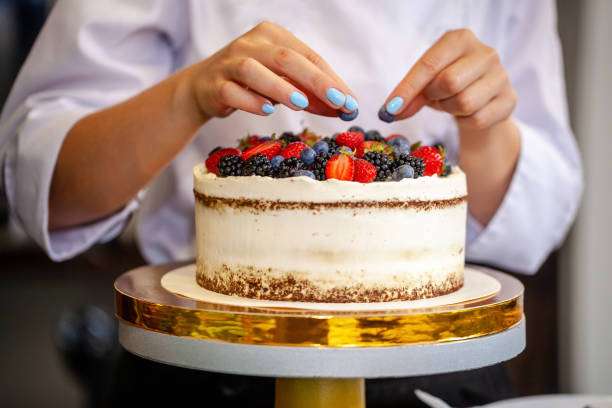
Cake Stand Partitioning Tips
- Use trays or small plates: Place small trays on the cake stand and group desserts of the same type.
- Use decorations to separate areas: for example, place small flowers or chocolate chips to separate different sections and make the visuals clearer.
- Maintain symmetry and layering: Symmetrical placement makes the cake stand look neat, and distinct layers give the overall structure a three-dimensional feel.
- Control the quantity: Don’t fill each layer completely; leave some space so the dessert can “breathe” and look more refined.
- Plan ahead: Draw a diagram of the cake stand on paper beforehand to plan the zones, which will make the actual placement smoother.
I once hosted a family gathering and used a cake stand to display 10 different desserts. Initially, I just placed them randomly, resulting in a bottom layer crammed with small cakes while the top layer was empty, making it look unappealing. Later, I referred to the zoning principles above:
- Enlarged cake and fruit tart at the bottom
- Chocolate dessert in the middle layer
- Place macarons and cookies on the top layer.
The effect was significantly better; my friends all said the cake stand looked as beautiful as a professional dessert shop. This experience taught me that zoning with a cake stand is not just a placement technique but also a key to enhancing the quality of a party.
Partitioning Problems and Solutions
| Problem | Solution |
|---|---|
| Desserts are prone to slipping or collapsing | Place a non-slip mat or small tray on the cake stand to ensure the dessert is stable. |
| Mixed colors, visually inconsistent | Organize by color or theme to maintain overall color harmony. |
| The top layer of dessert is not easy to remove | Place smaller desserts on the top shelf and larger desserts on the bottom shelf, or provide small clips for easy access. |
| The desserts had mixed flavors | Store chocolate, cream, and fruit-flavored foods separately to avoid them affecting each other’s flavor. |
FAQ (Frequently Asked Questions)
Q1: Is it suitable for storing a variety of desserts?
A1: Absolutely, but it is recommended to arrange them by type, size, or color to ensure visual appeal and easy access.
Q2: How to ensure stability when dividing
the cake stand?
A2: Place large desserts on the bottom layer and small desserts on the top layer, and use trays or non-slip mats between the layers to effectively improve stability.
Q3: Should the order in which guests take the food be considered when zoning the area?
A3: Yes, fragile or most popular desserts should be placed in easily accessible locations.
Q4: How to keep the cake stand neatly arranged throughout the day?
A4: Divide the space in advance, maintain gaps, and use trays or dividers to prevent guests from disturbing the overall layout when taking cakes.
Q5: Can I DIY partitioning at home?
A5: Absolutely. With advance planning, partitioning, and the use of trays and small decorations, the effect will be like that of a professional dessert shop.
Conclusion:
Mastering cake stand techniques for categorizing desserts will not only make your desserts more visually appealing but also elevate the overall quality of your party or gathering. Want your cake stand to look as sophisticated as those in a professional pastry shop?
Purchase a multi-tiered cake stand or partitioned tray now to make your dessert layout easier and more beautiful!